Update 5 / Chop Process Part 4 : This update deals with the continuation of the top reassembly process and interior wood.
 In Update 4, we showed you the installation of the roof filler piece. This photo shows the (mis)alignment of the "B" pillar prior to the installation of the filler piece.
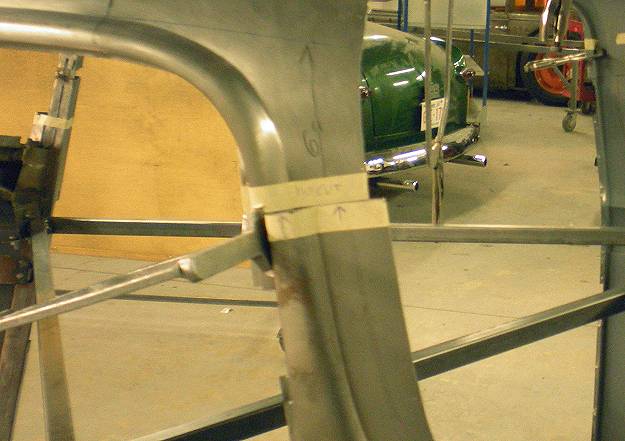
 The addition of the filler piece brings the "B" pillar into alignment. The arrow points to the upper hinge location which has remained unchanged. This will permit the door and body "B" pillar reinforcing wood to remain unchanged in this location.
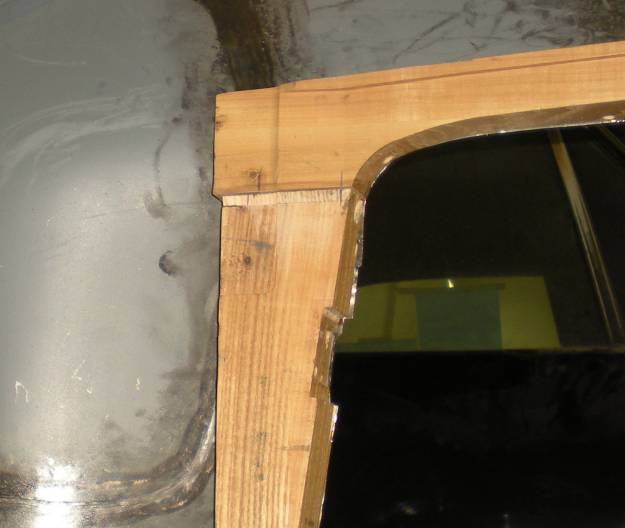
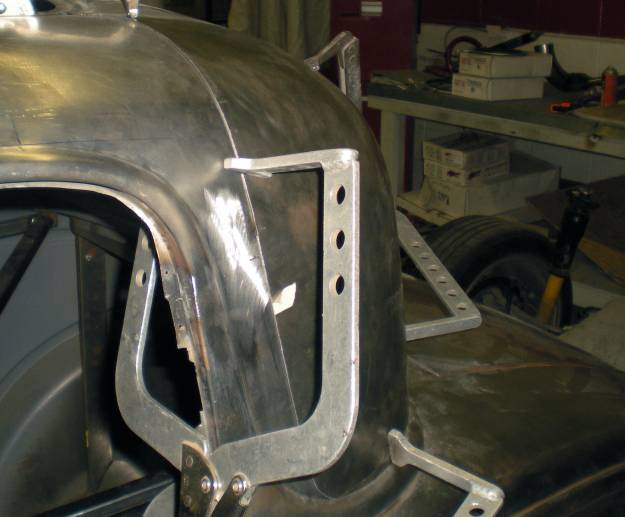 The "B" pillar area has been finished-welded and the sail panel, as removed in Update 3, is clamped in place. Note the overlap. It can then be marked from the rear side, trimmed and welded back into place. This will be repeated on the other side.
 A view from the rear.
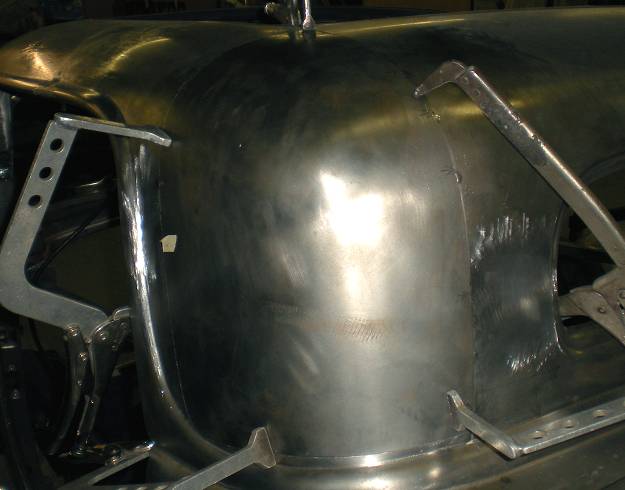
 After trimming/welding.
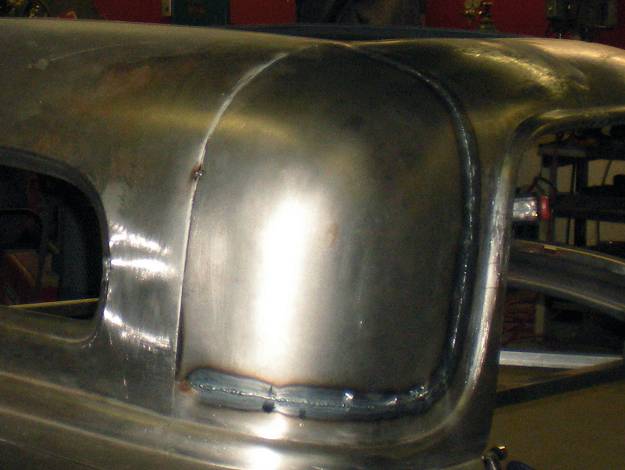
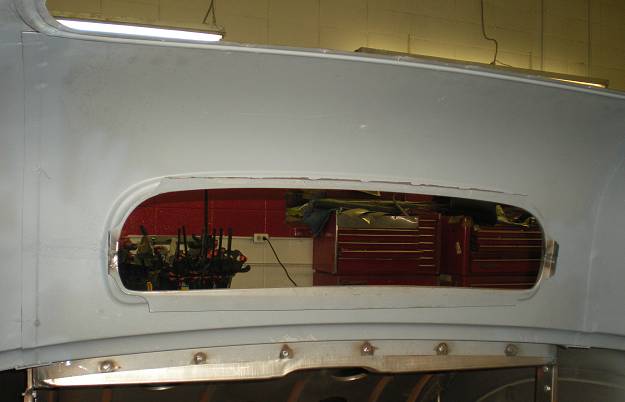
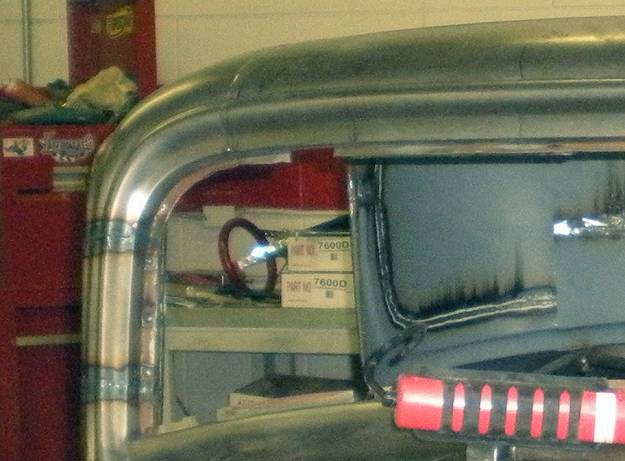 View through windshield area showing inside view of welded sail panel.
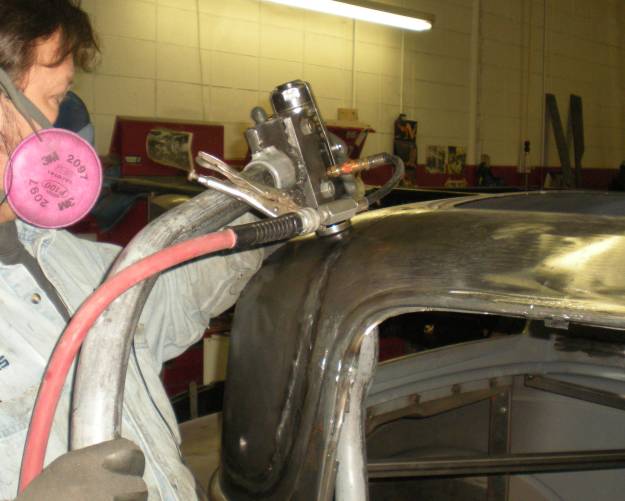
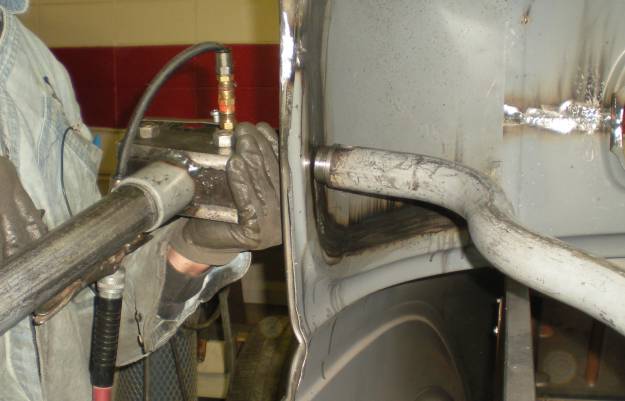
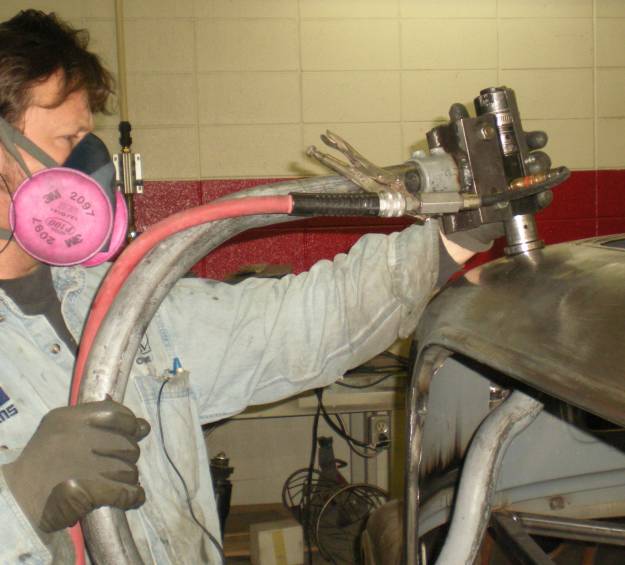 Planishing the sail panel area using a portable pneumatic planisher.
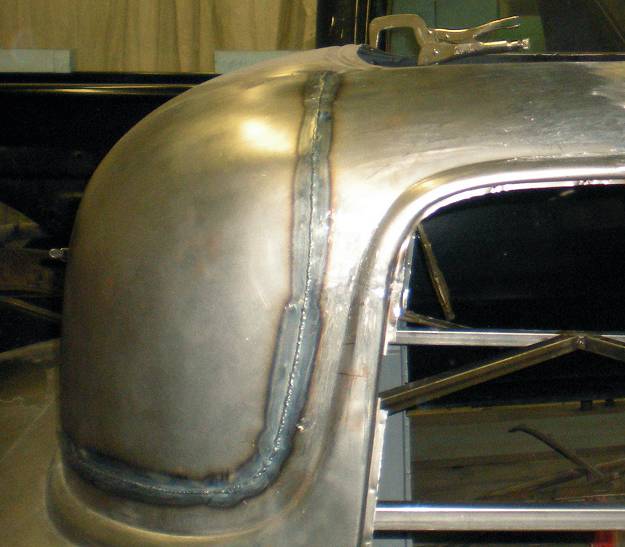
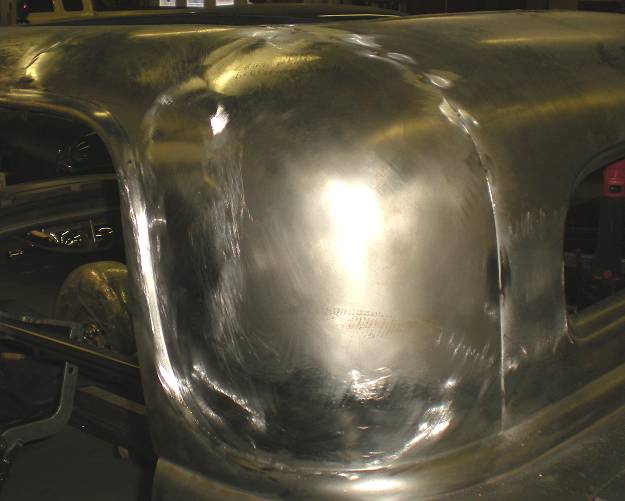
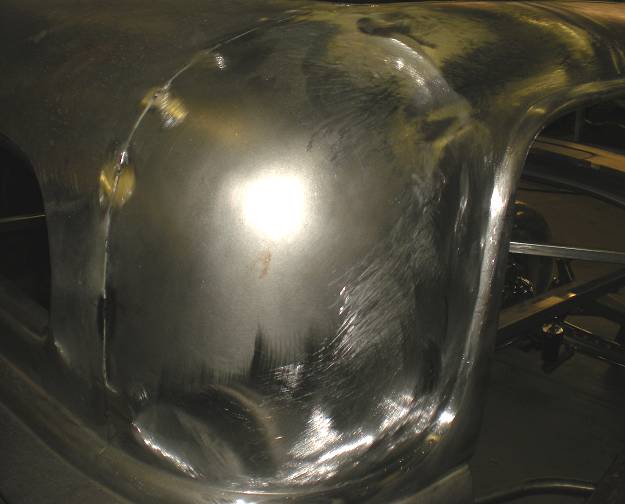 After planishing and weld cleanup.
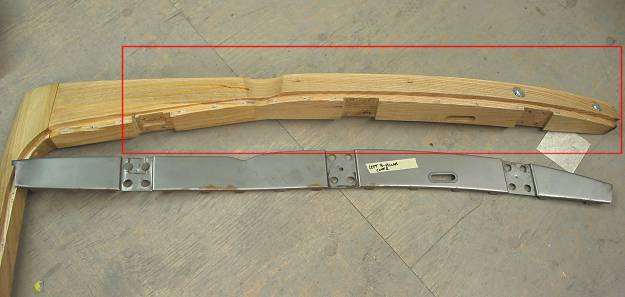 Driver's side "B" pillar reinforcing hinge wood section and sheetmetal cover panel as removed prior to chop. As noted above, the area within the red box will remain unchanged as the chop took material out above the upper hinge. To maintain the complete integrity of the wood, it will be "chopped" by removing material from the joint area down.
 Shortened "B" pillar wood section in place.
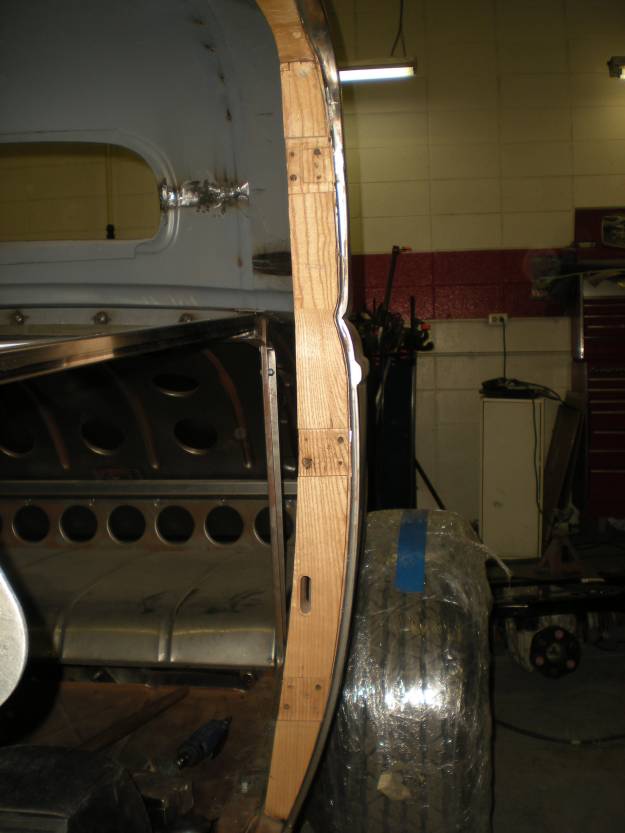 Shown from the front.
 Balance of wood being refitted.
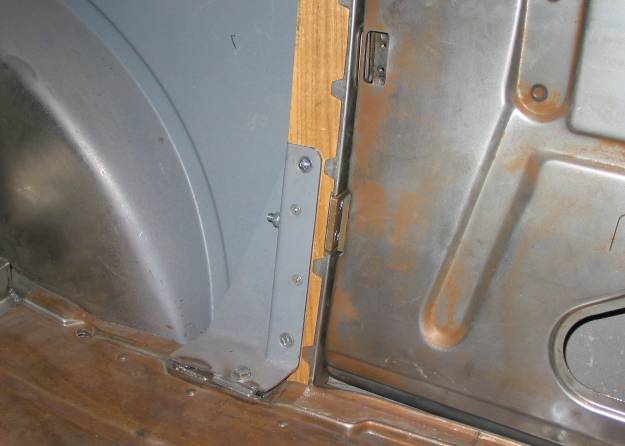 "B" pillar wood completely reinstalled with jamb cover in place.
 Rear turret/rear window area awaiting wood reinstall.
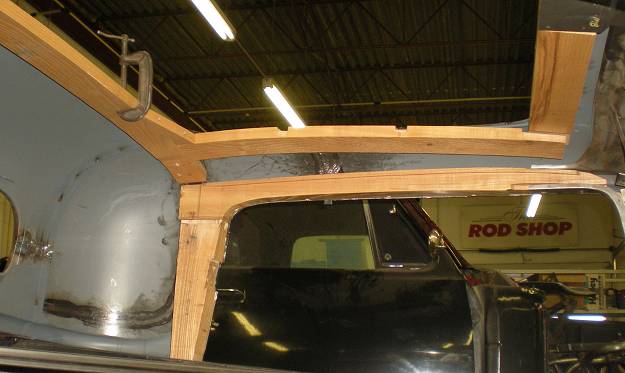
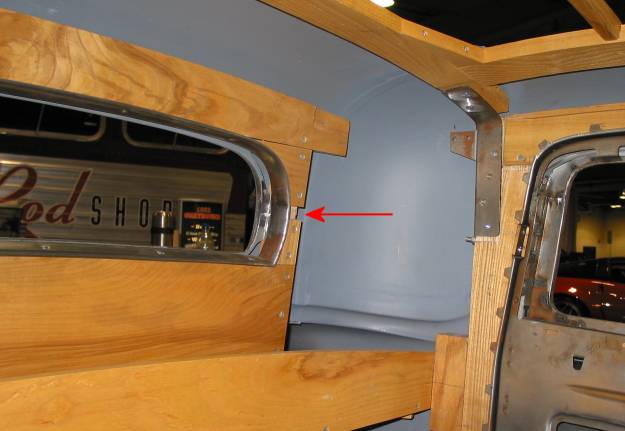 Window area wood back in place with parcel shelf. The corner pieces are unchanged as the chop took place in the area designated by the red arrow.
Want to make a comment about this update? Comment area is directly below: